SupremeRAID™ SE Linux User Guide 2.0.0

 SupremeRAID™ SE Linux User Guide 2.0.0 SupremeRAID™ SE Linux User Guide 2.0.0 | |||||||||||||||||||||||||||||||||||||||||||||||||||||||||||||||||||||||||||||||||||||||||||||||||||||||||||||||||||||||||||||||||||||||||||||||||||||||||||||||||||||||||||||||||||||||||||||||||||||||||||||||||||||||||||||||||||||||||||||||||||||||||||||||||||||||||||||||||||||||||||||||||||||||||||||||||||||||||||||||||||
SupremeRAID™ SE Linux User Guide 2.0.0Version:2.0.0 Rev. 001Date:7/31/26 Info Copyright © 2021–2026 Graid Technology Inc. All Rights Reserved. IntroductionSupremeRAID™ SE is the most powerful, high-speed data protection solution specially designed for NVMe SSDs. SupremeRAID™ SE installs a virtual NVMe controller onto the operating system and integrates a high-performance, AI processor-equipped PCIe RAID card into the system to manage the RAID operations of the virtual NVMe controller. This document explains how to install the SupremeRAID™ SE software package for Linux and how to manage the RAID components using the Graphical Management Console. SupremeRAID™ SE Linux Specification
RAID ComponentsSupremeRAID™ has four major RAID logical components:
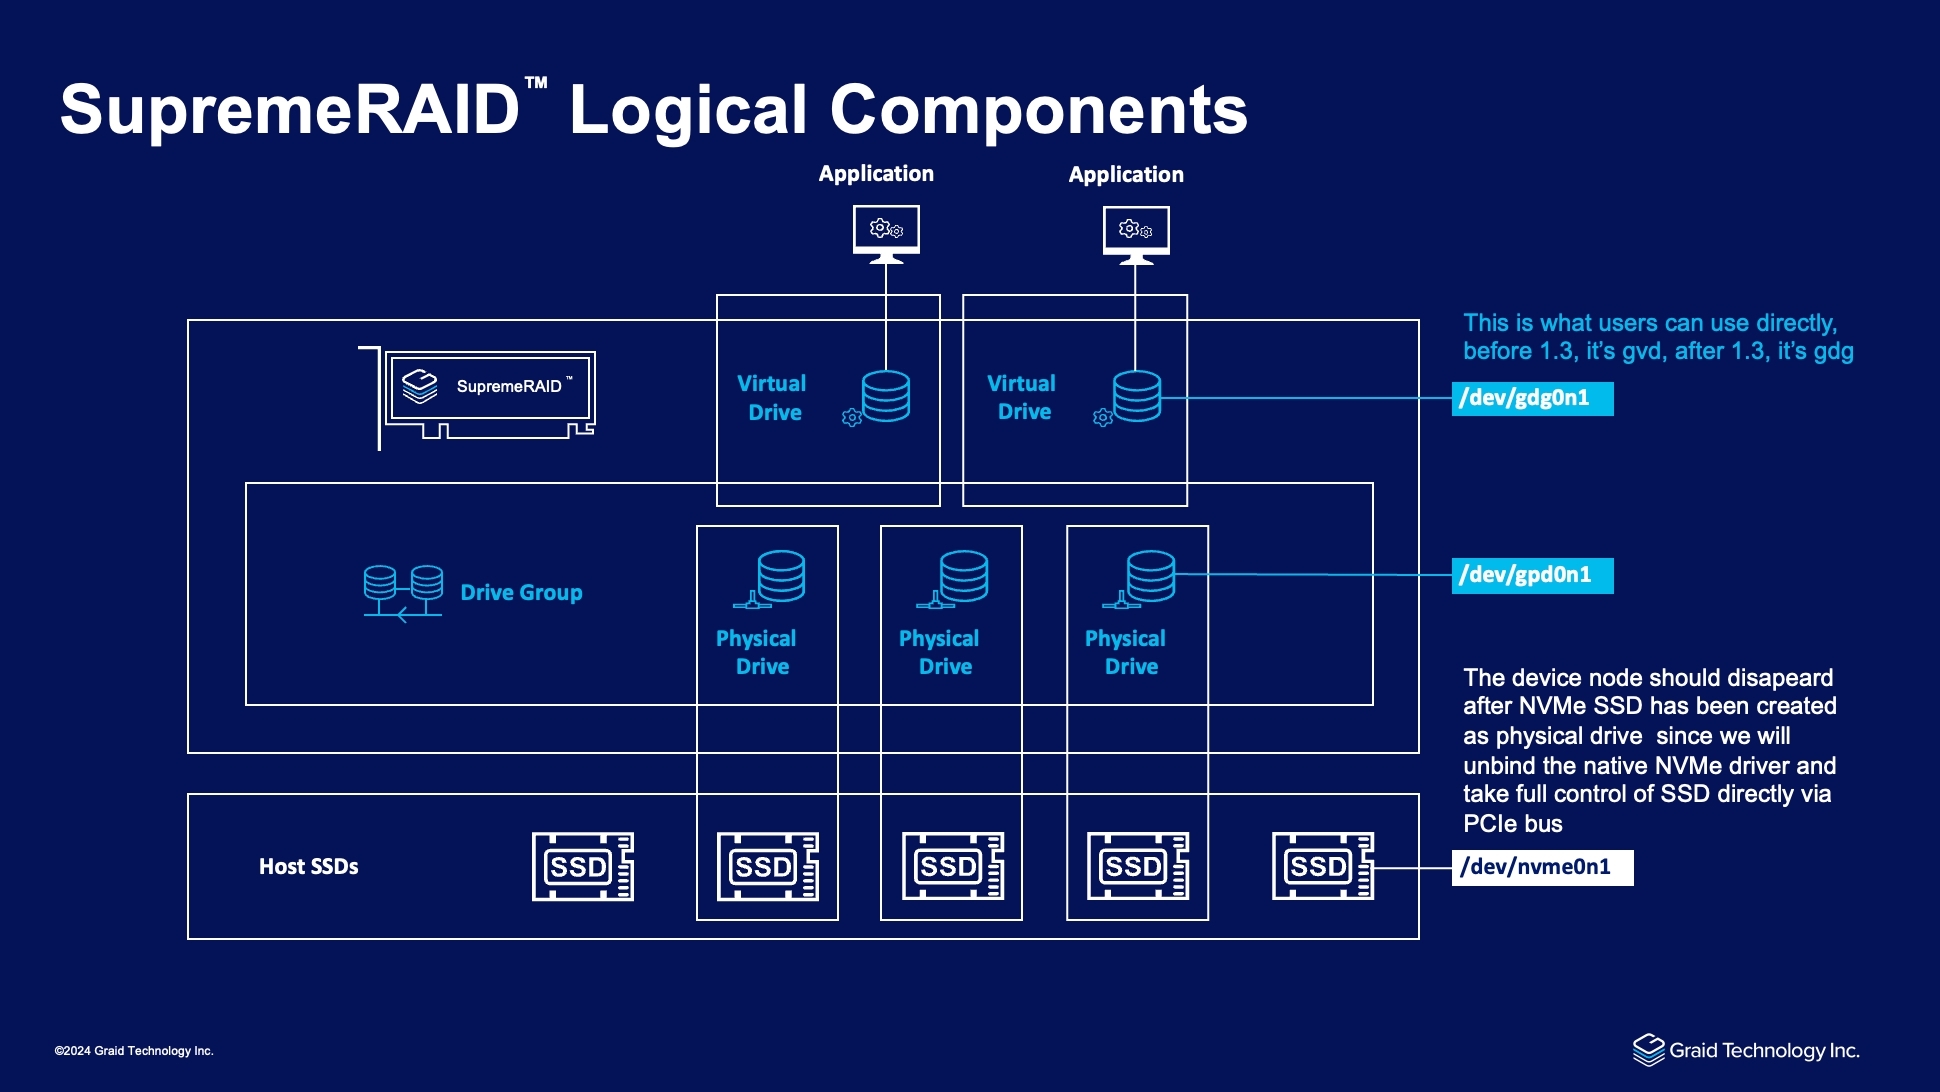 Physical Drive (PD)
Drive Group (DG)The main component of RAID logic is a RAID group. When the drive group is created, the SupremeRAID™ SE driver initializes the physical drives with the corresponding RAID mode to ensure that the data and parity are synchronized.
Virtual Drive (VD)
Controller (CX)The controller is the core component of the RAID system. It provides detailed hardware information such as GPU serial number, temperature, and fan speed. RAID management relies on the controller, so the controller's state directly affects the underlying drive group operations. Precautions
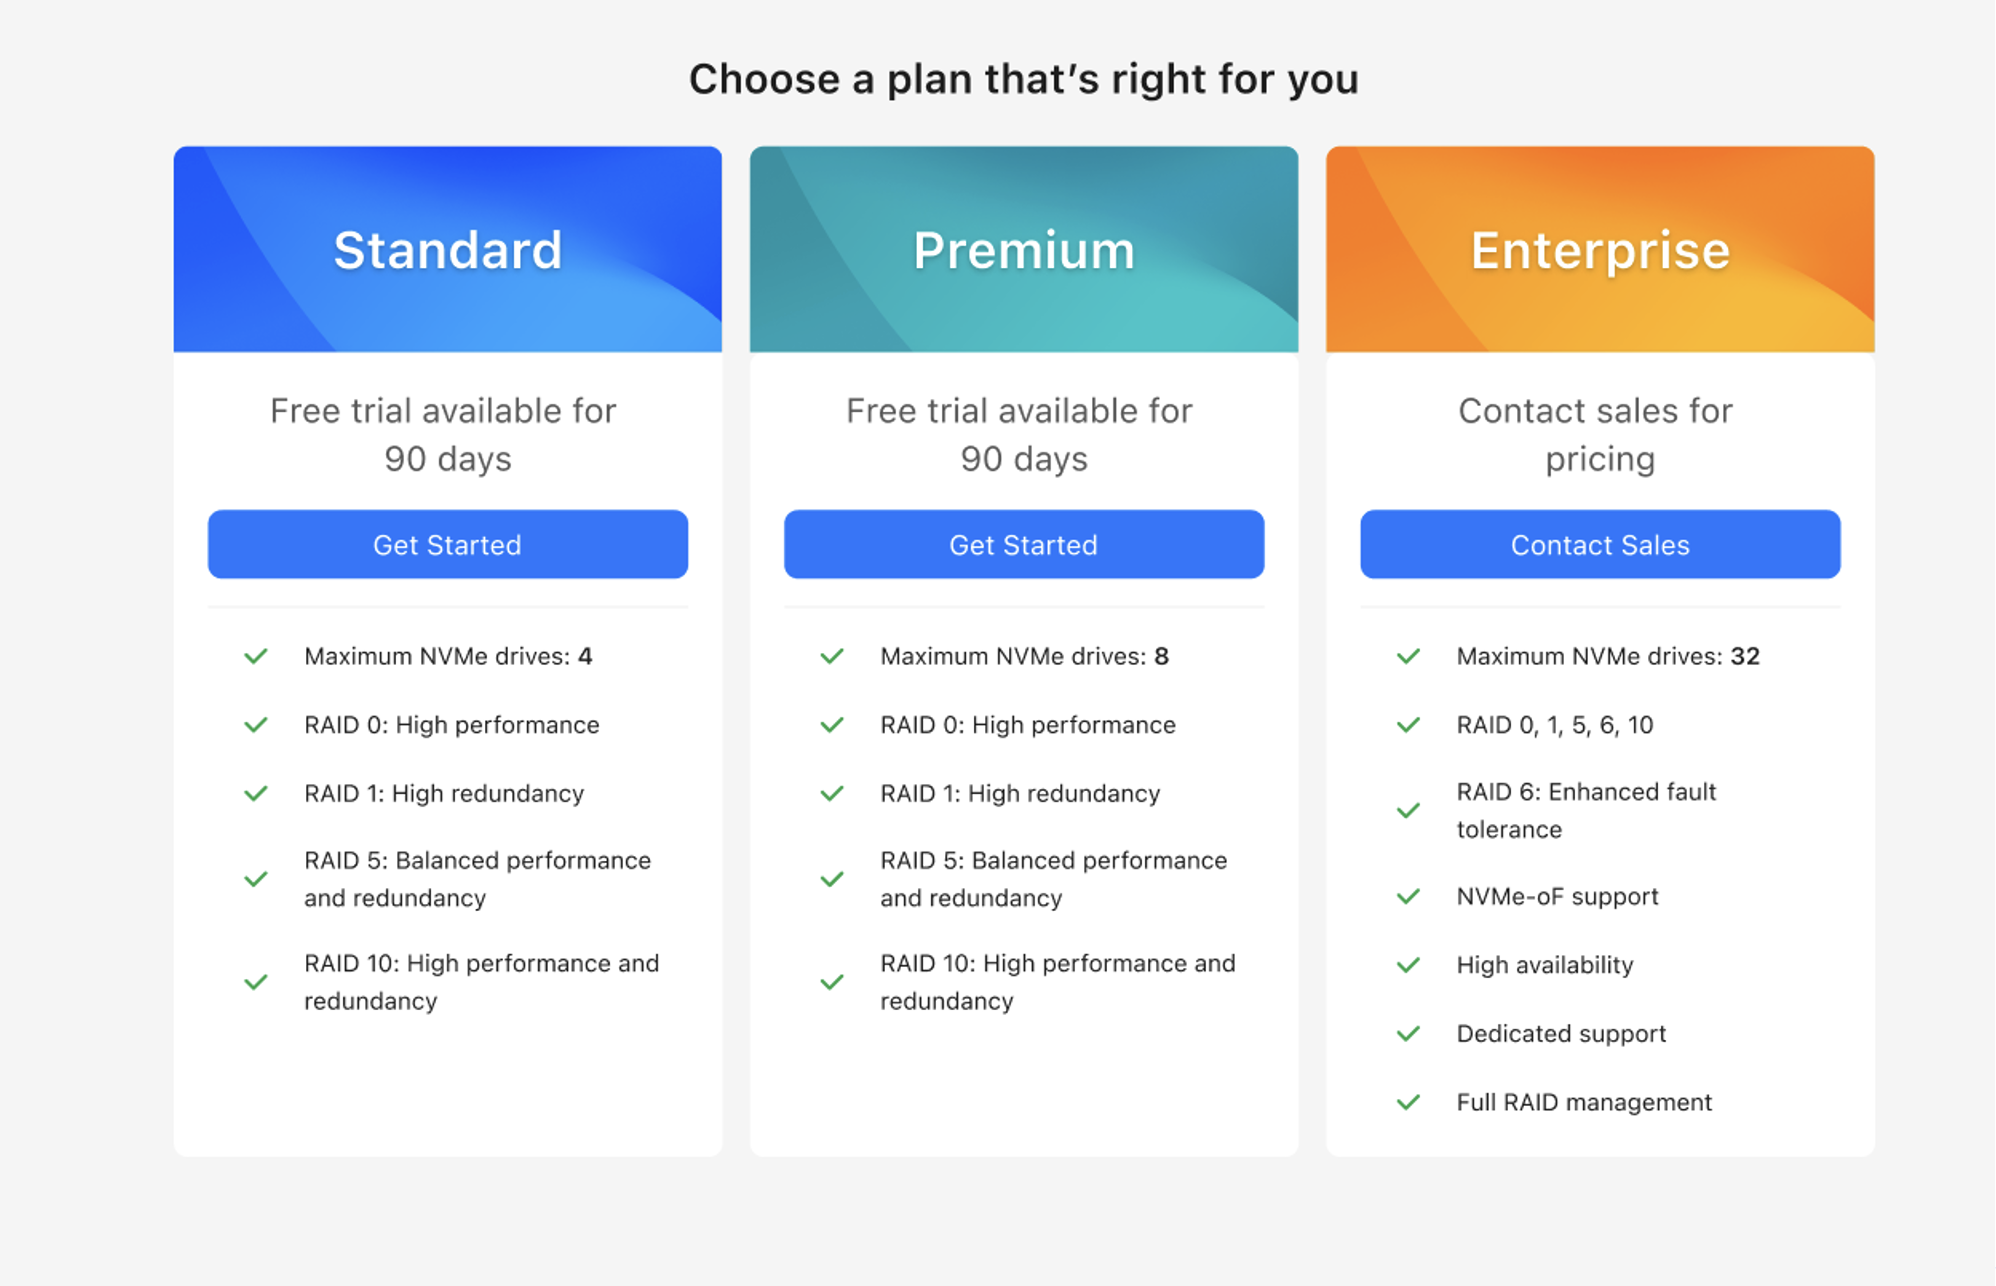
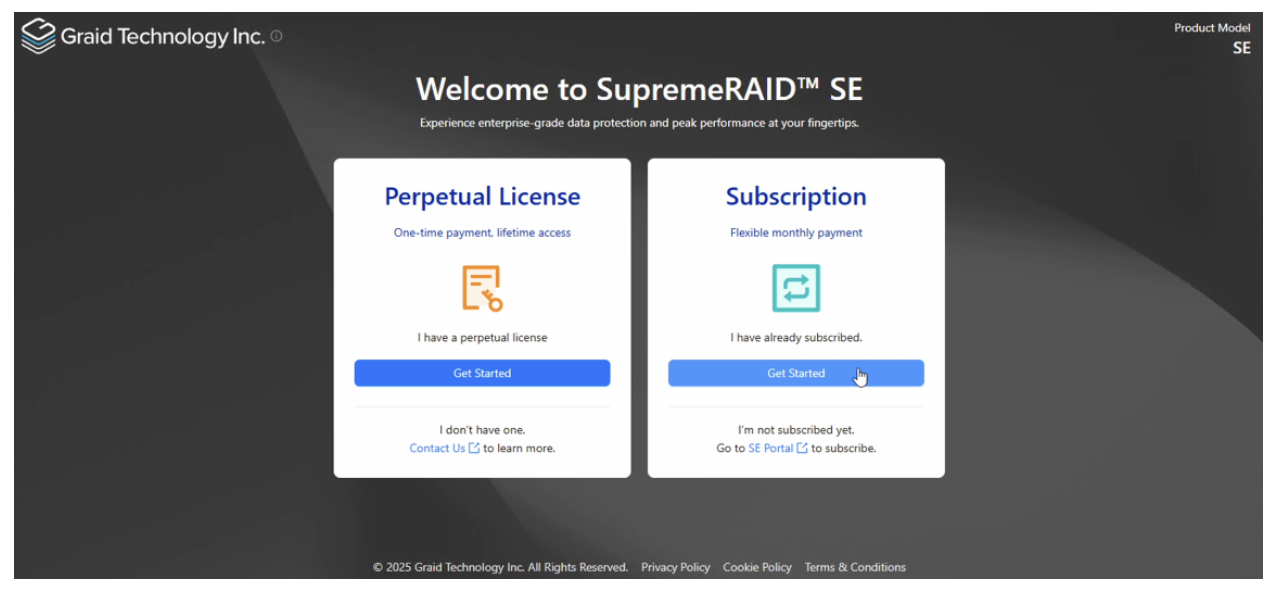
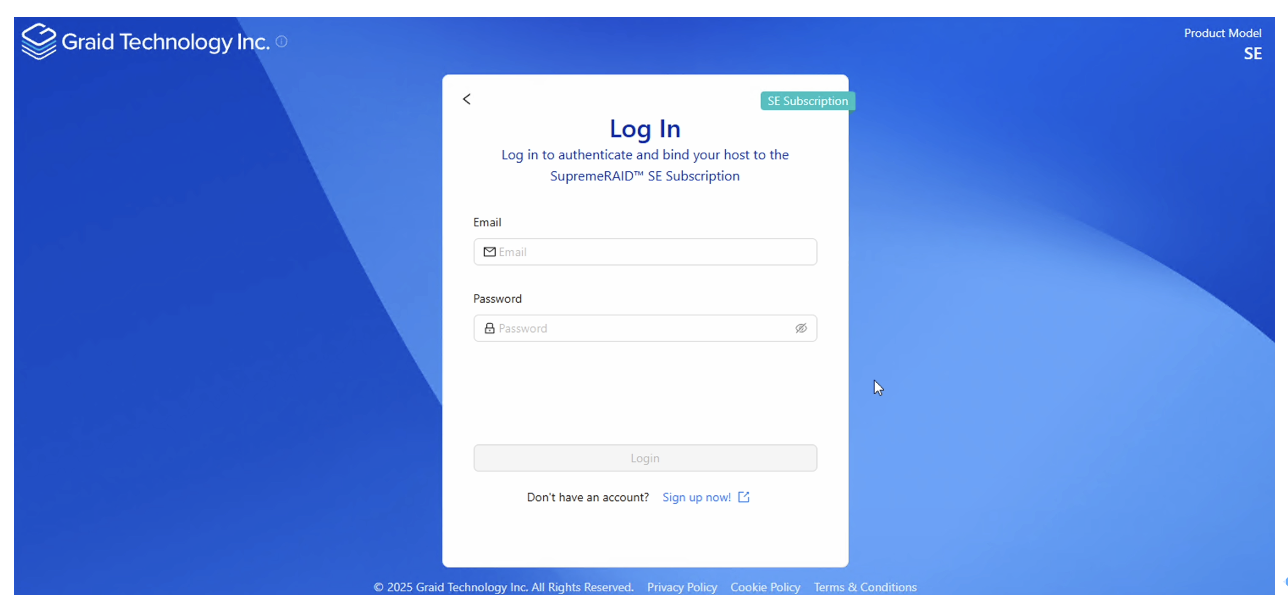
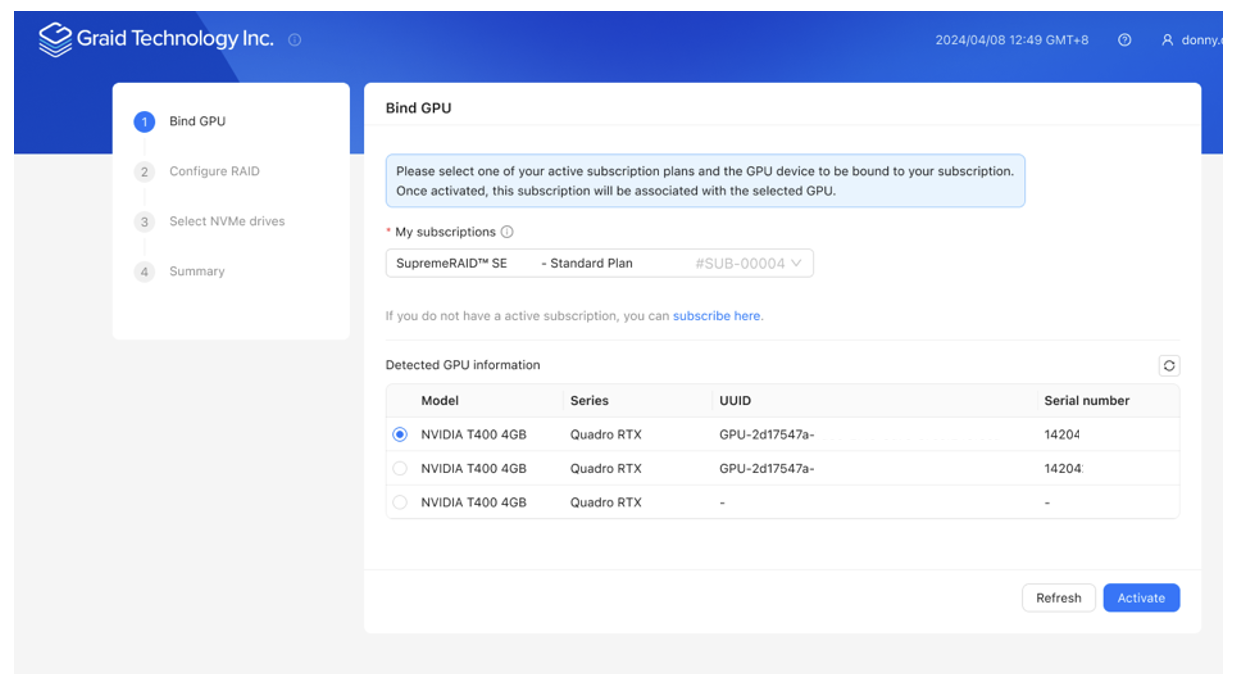
Activate SubscriptionSupremeRAID™ SE offers subscription-based services, allowing users to select a plan based on their requirements. Subscription payments are made by credit card and billed monthly.
InstallationThis section describes how to install the SupremeRAID™ SE software package for Linux operating systems. PrerequisitesBefore installing the software package, ensure that the system meets the following requirements:
BIOS Setting
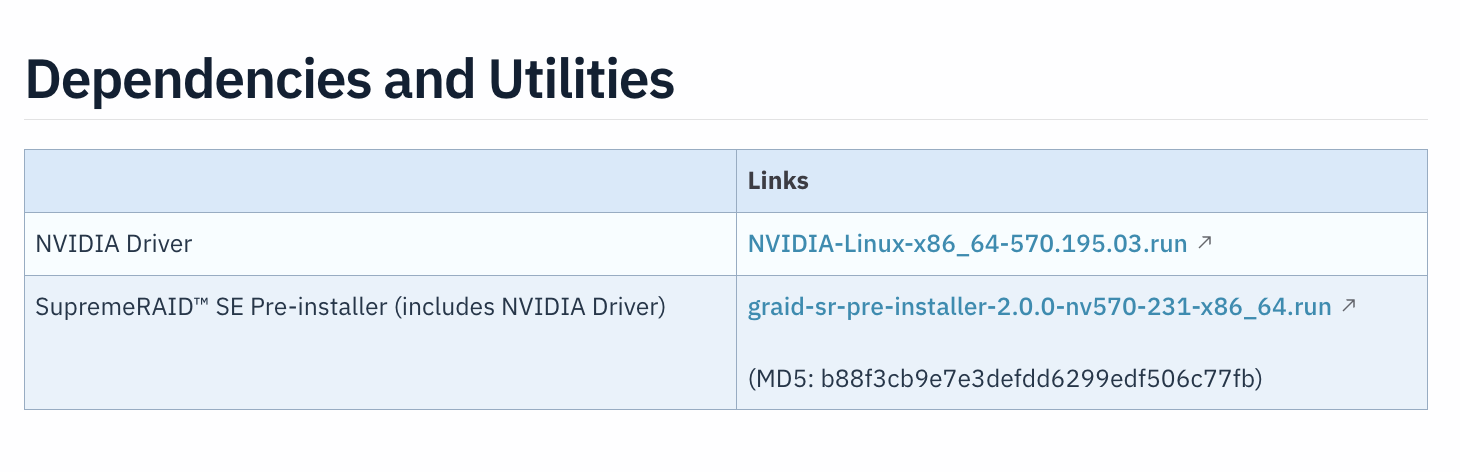
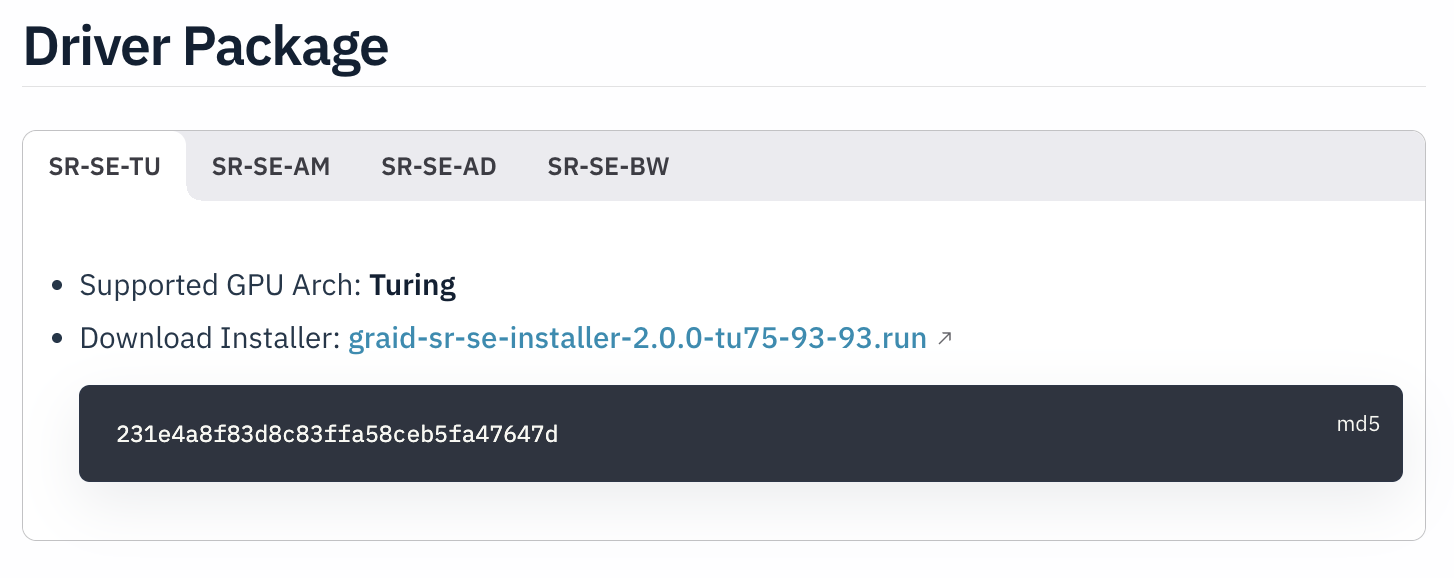
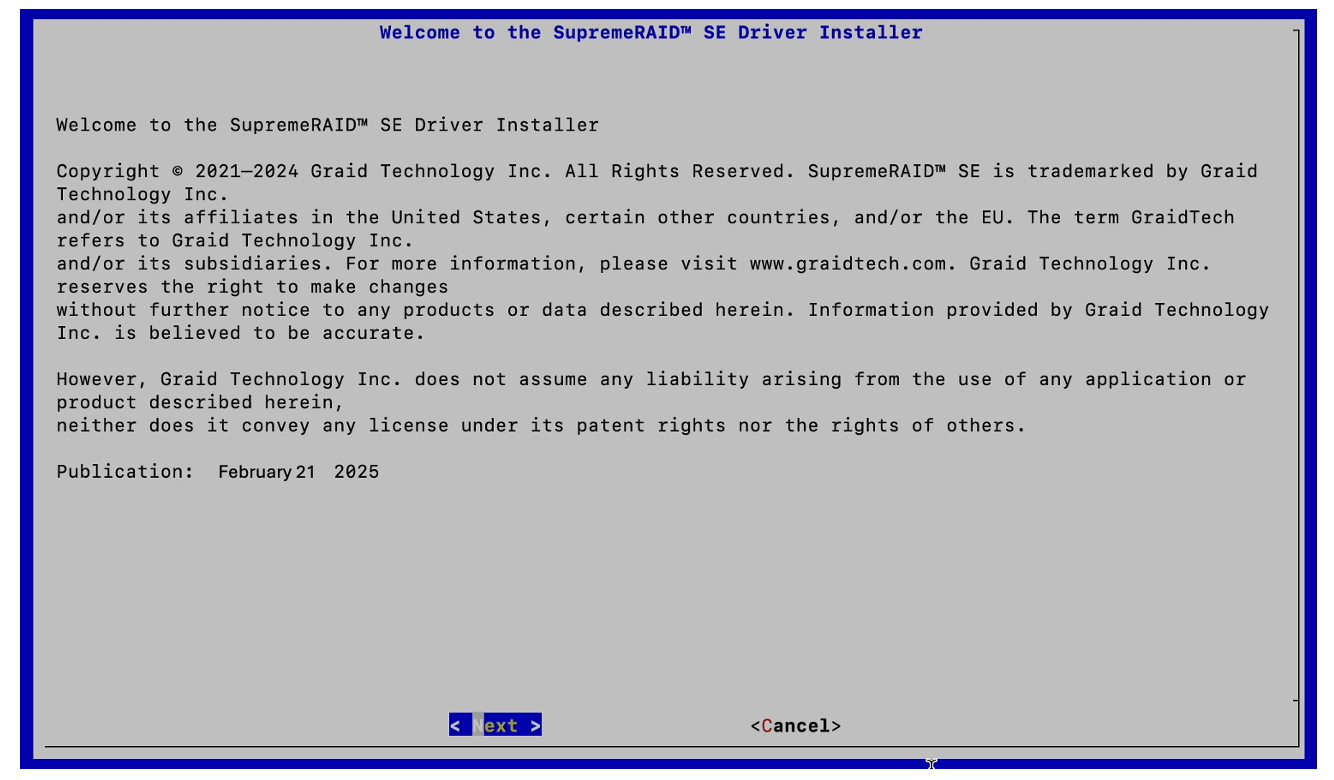
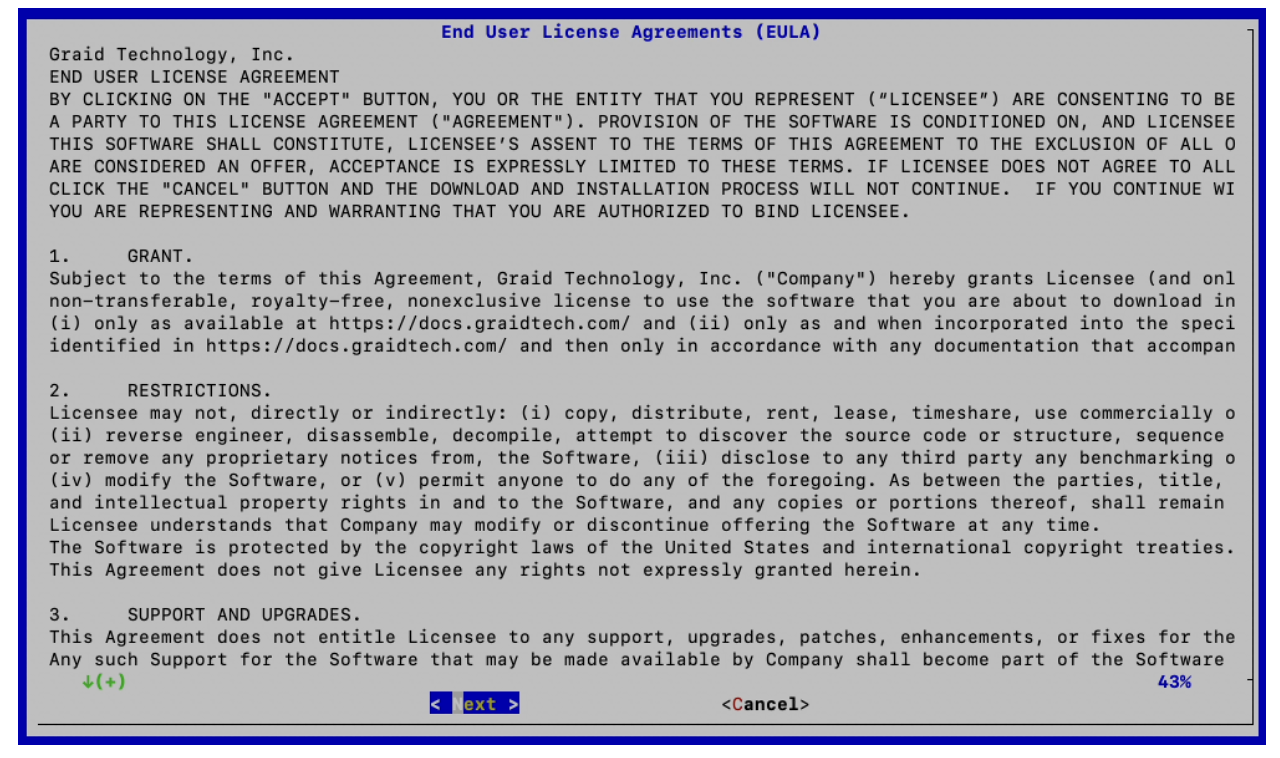
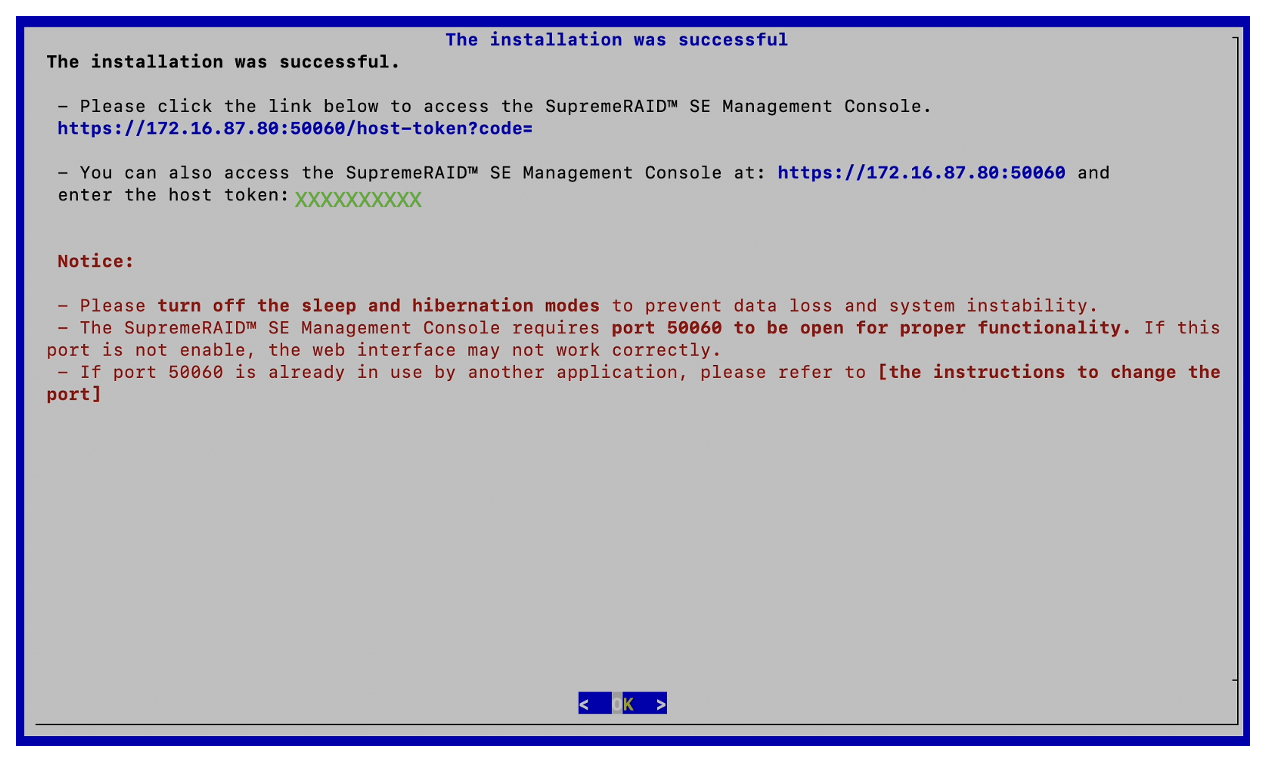
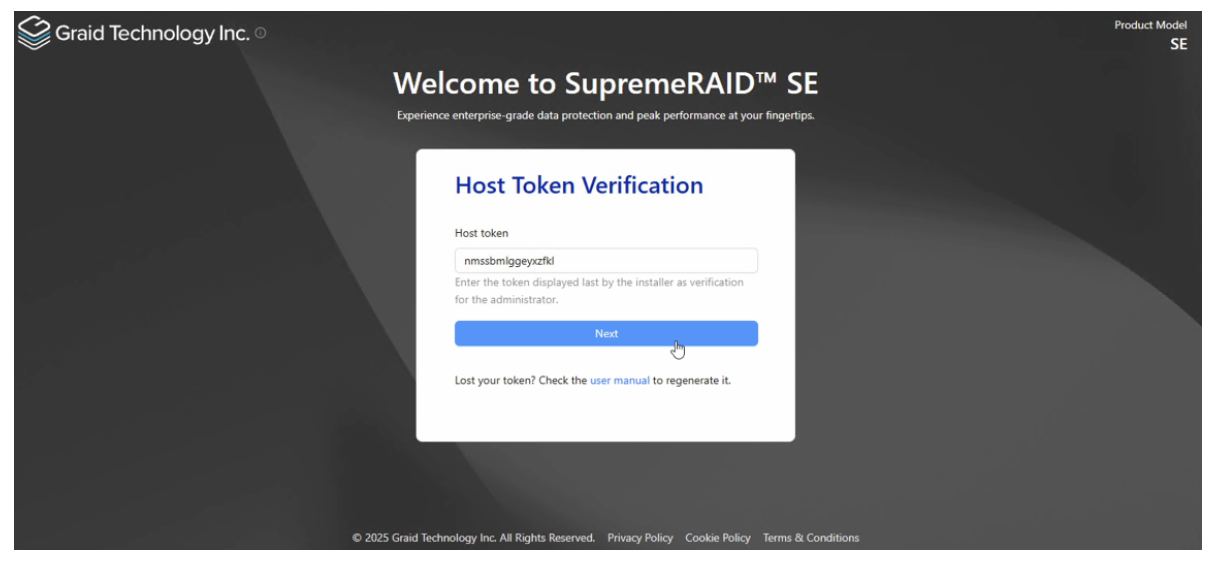
Installing the DriverThe recommended and quickest way to install the SupremeRAID™ SE is by using the pre-installer scripts and installer (described below). Pre-installerThe SupremeRAID™ SE pre-installer is an executable file that contains the required dependencies and a setup script that installs the NVIDIA driver. The script makes it easy to prepare the environment and install the SupremeRAID™ SE driver on every supported Linux distribution. Use the following steps to prepare the environment and install the SupremeRAID™ SE driver using the pre-installer in supported Linux distributions. Note To run the pre-installer, the system must have internet access to download the required dependencies from the official mirror.
Driver
Uninstalling the Driver
Upgrading the DriverUpgrading to Driver 2.0Subscription Mode
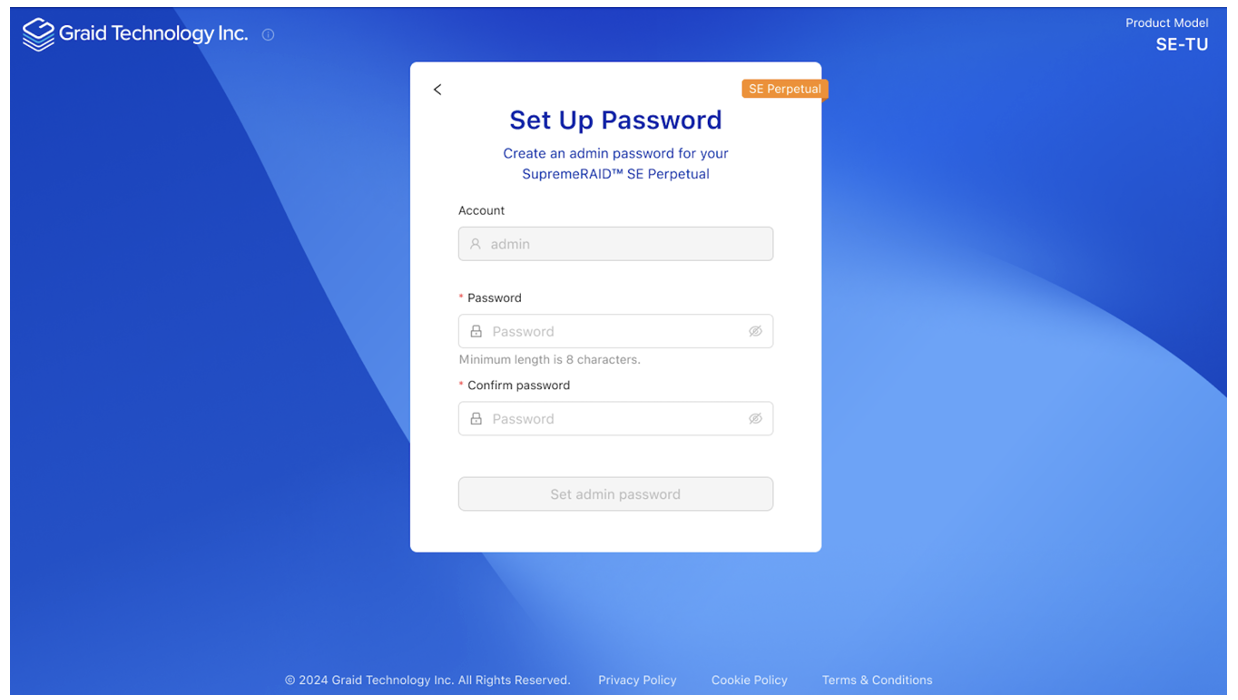
Perpetual ModeNote Please note that if you are installing the 2.0 driver package, you will need a V2 license key to activate the service. For licensing inquiries, please contact our Sales Department.
RAID ManagementManaging Physical DrivesCreating a Physical DriveTo create physical drives, please log in to the SupremeRAID™ SE Management Console, then navigate to the RAID management / Physical Drives section on the sidebar menu and click the “Create” button. 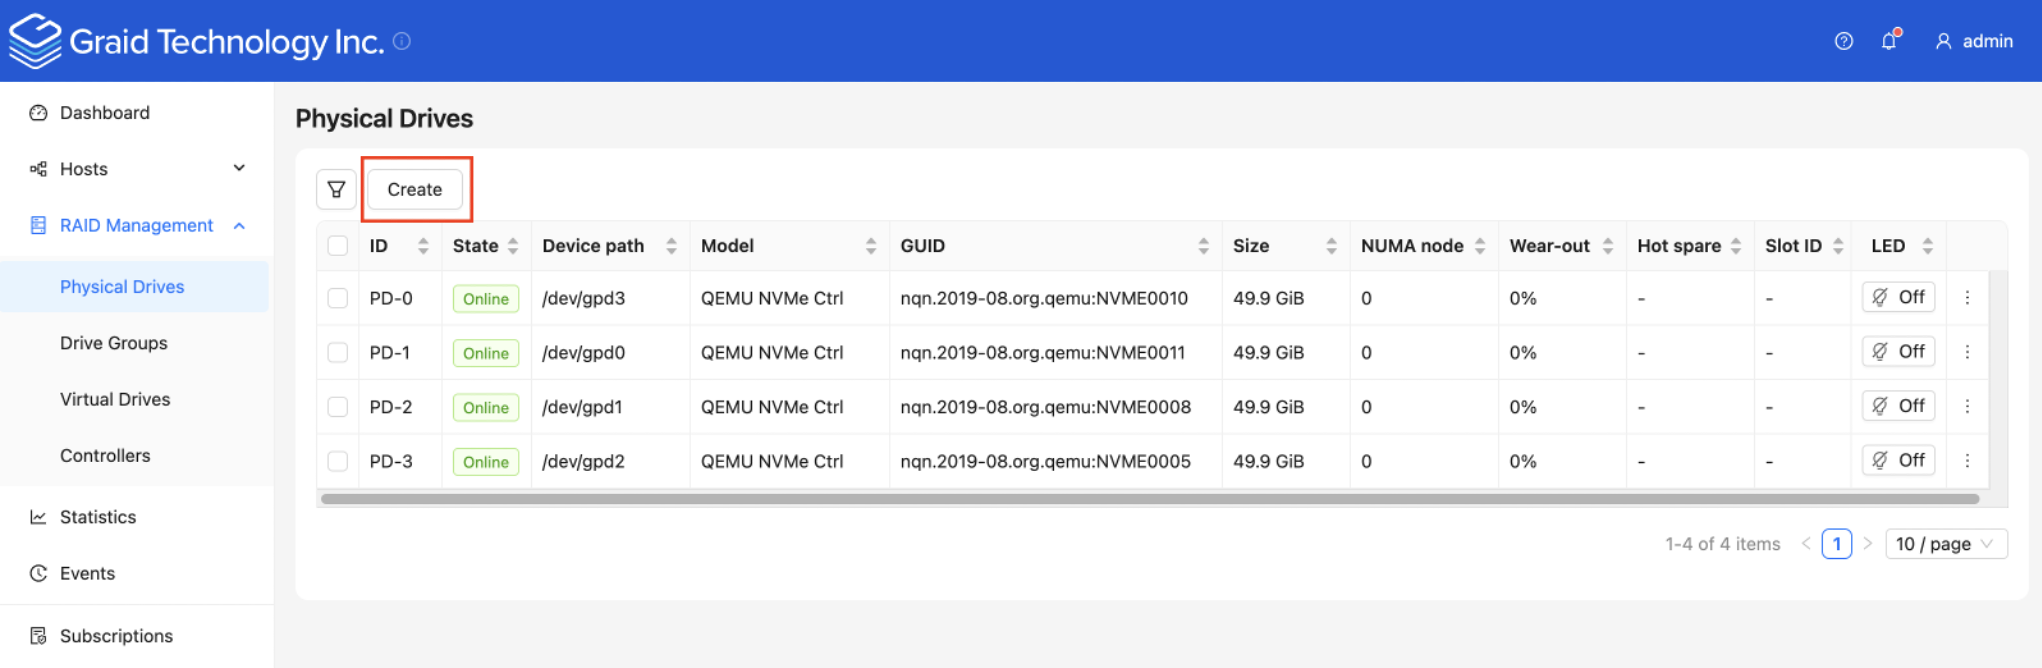 Physical Drive State:
Deleting a Physical DriveTo delete physical drives, please select the physical drives you want to delete and click the “Delete” button. 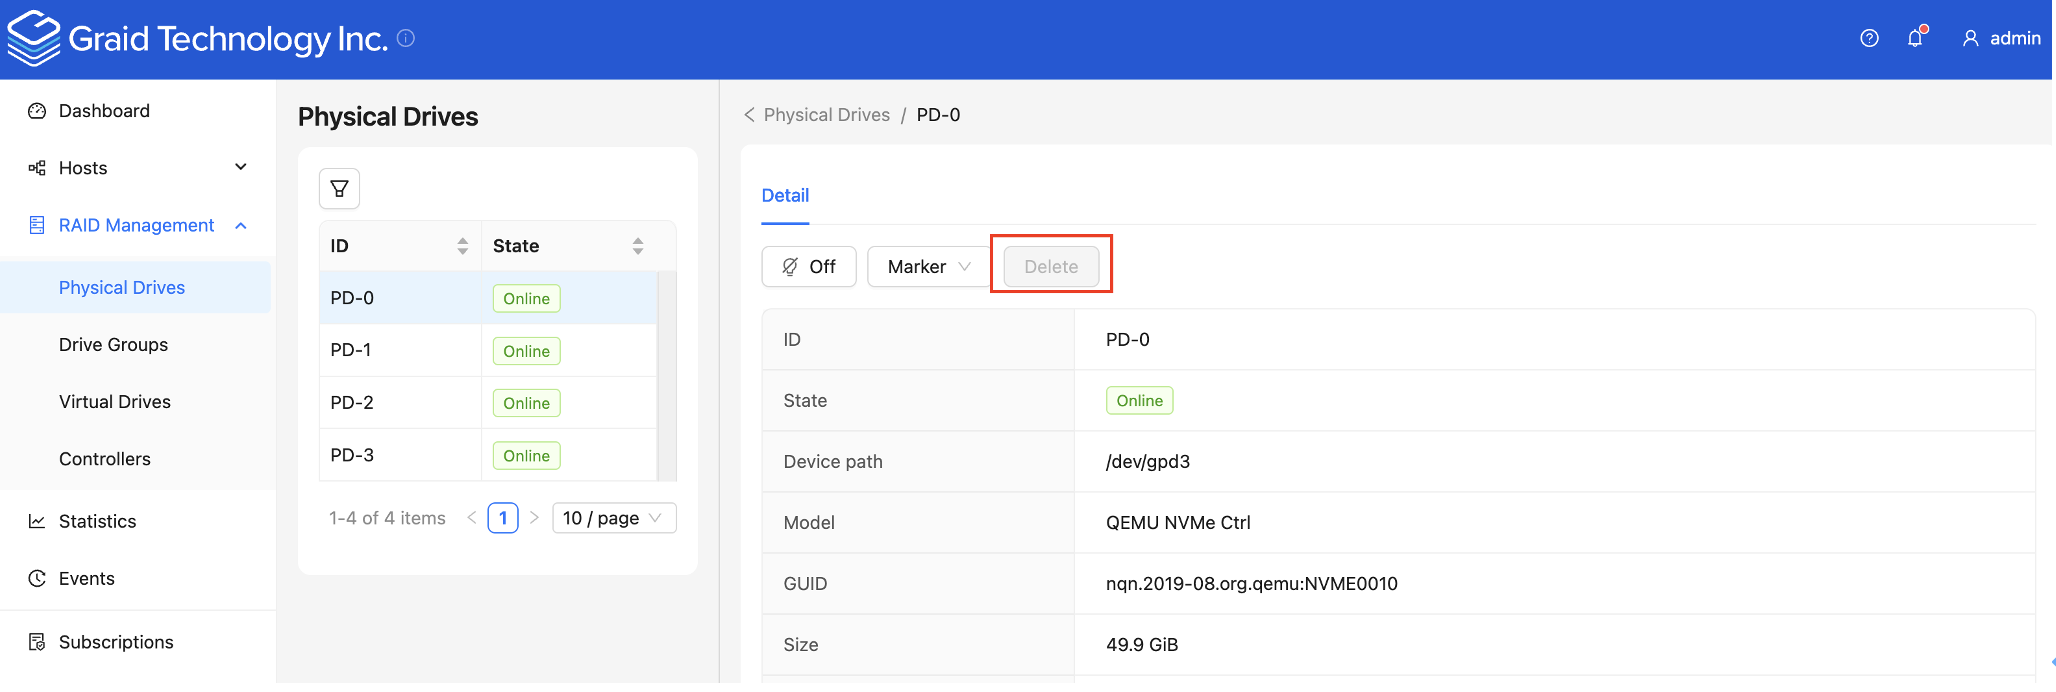 Info You cannot delete a physical drive which is used by drive group. Making a Physical Drive Online/Offline/Good/BadTo mark a physical drive as Online/Offline/Good/Bad, please select the physical drives you want to change and click the “Marker” button. 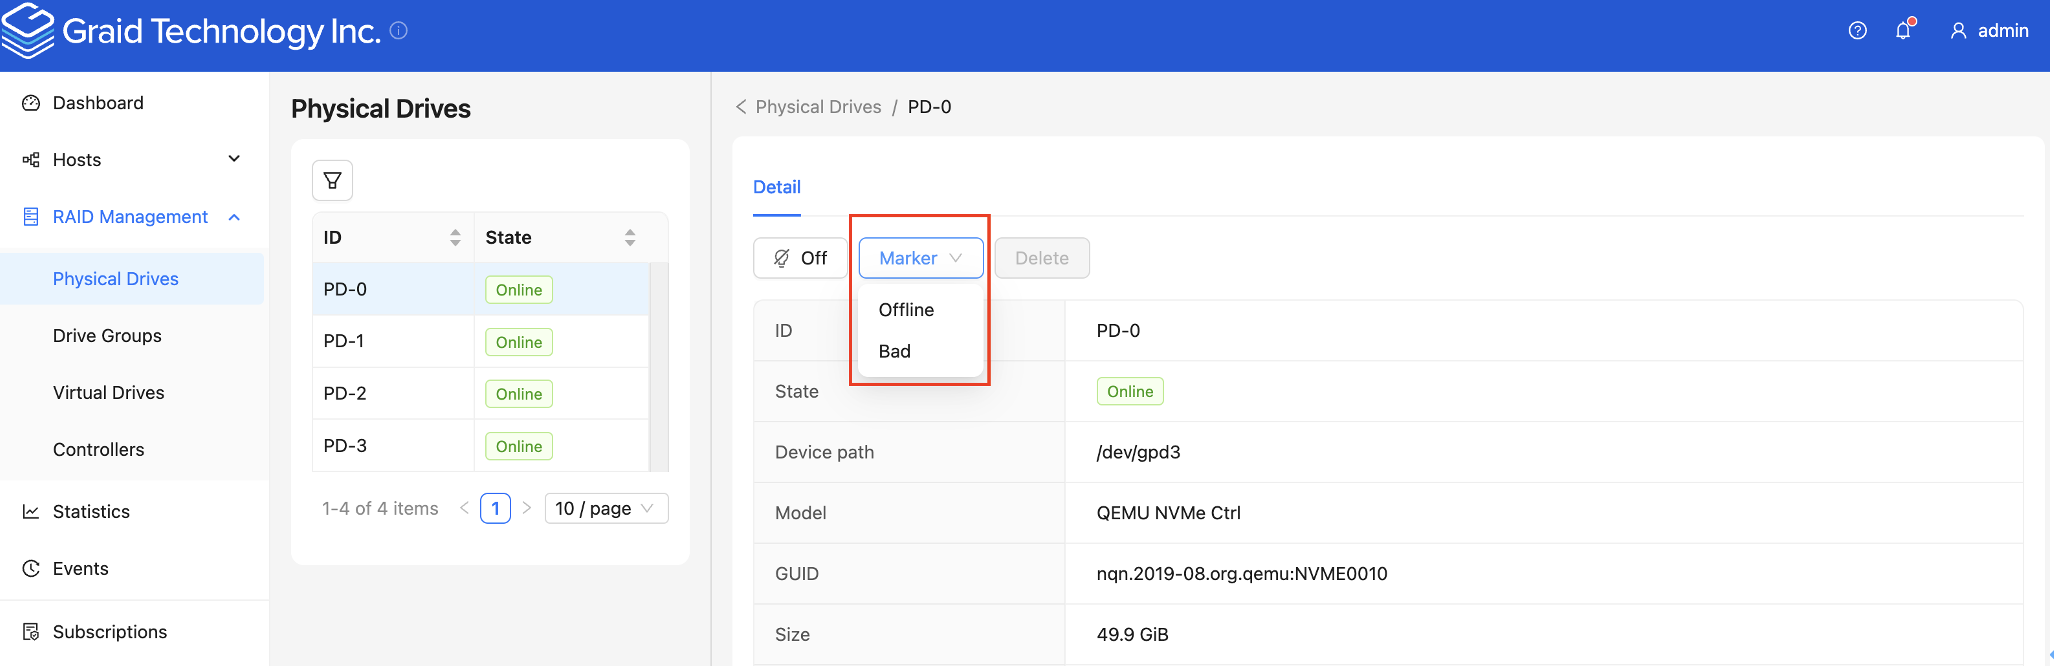 Assigning a Hot Spare DriveTo assign a physical drive as a hot spare, please select the physical drives you want to assign and click the “Hot spare” button. 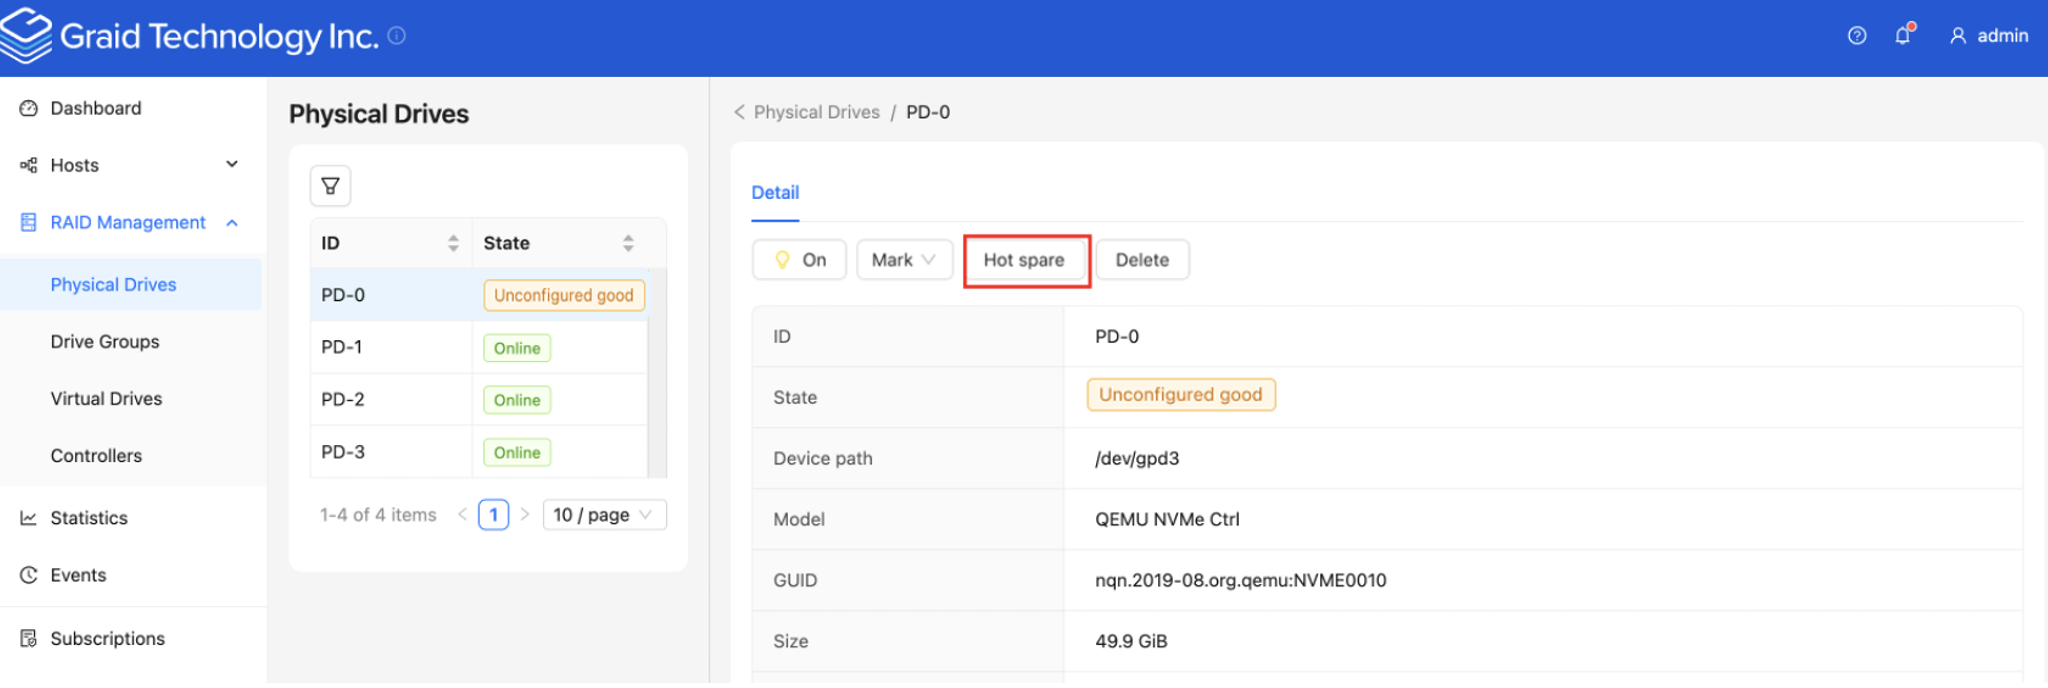 Managing Drive GroupsCreating a Drive GroupTo create a drive group, please log in to the SupremeRAID™ SE Management Console, then navigate to the RAID management / Drive Group section on the sidebar menu and click the “Create” button. 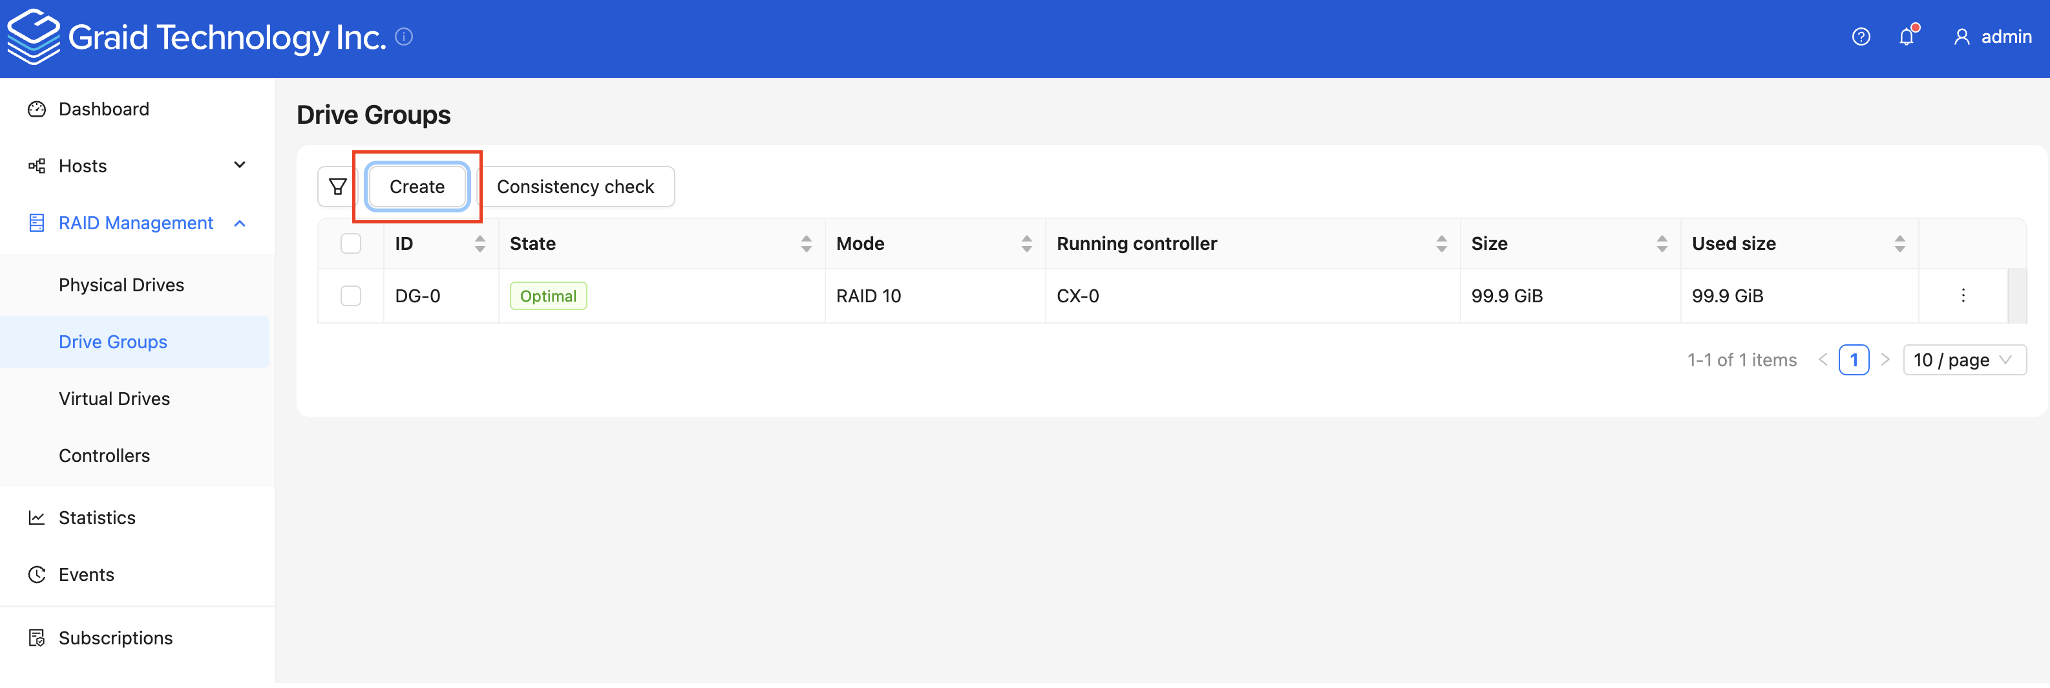 Drive Group State:
Deleting a Drive GroupTo delete a drive group, please log in to the SupremeRAID™ SE Management Console, then navigate to the RAID management / Drive Group section on the sidebar menu. Please select the drive group you want to delete and click the “Delete” button. 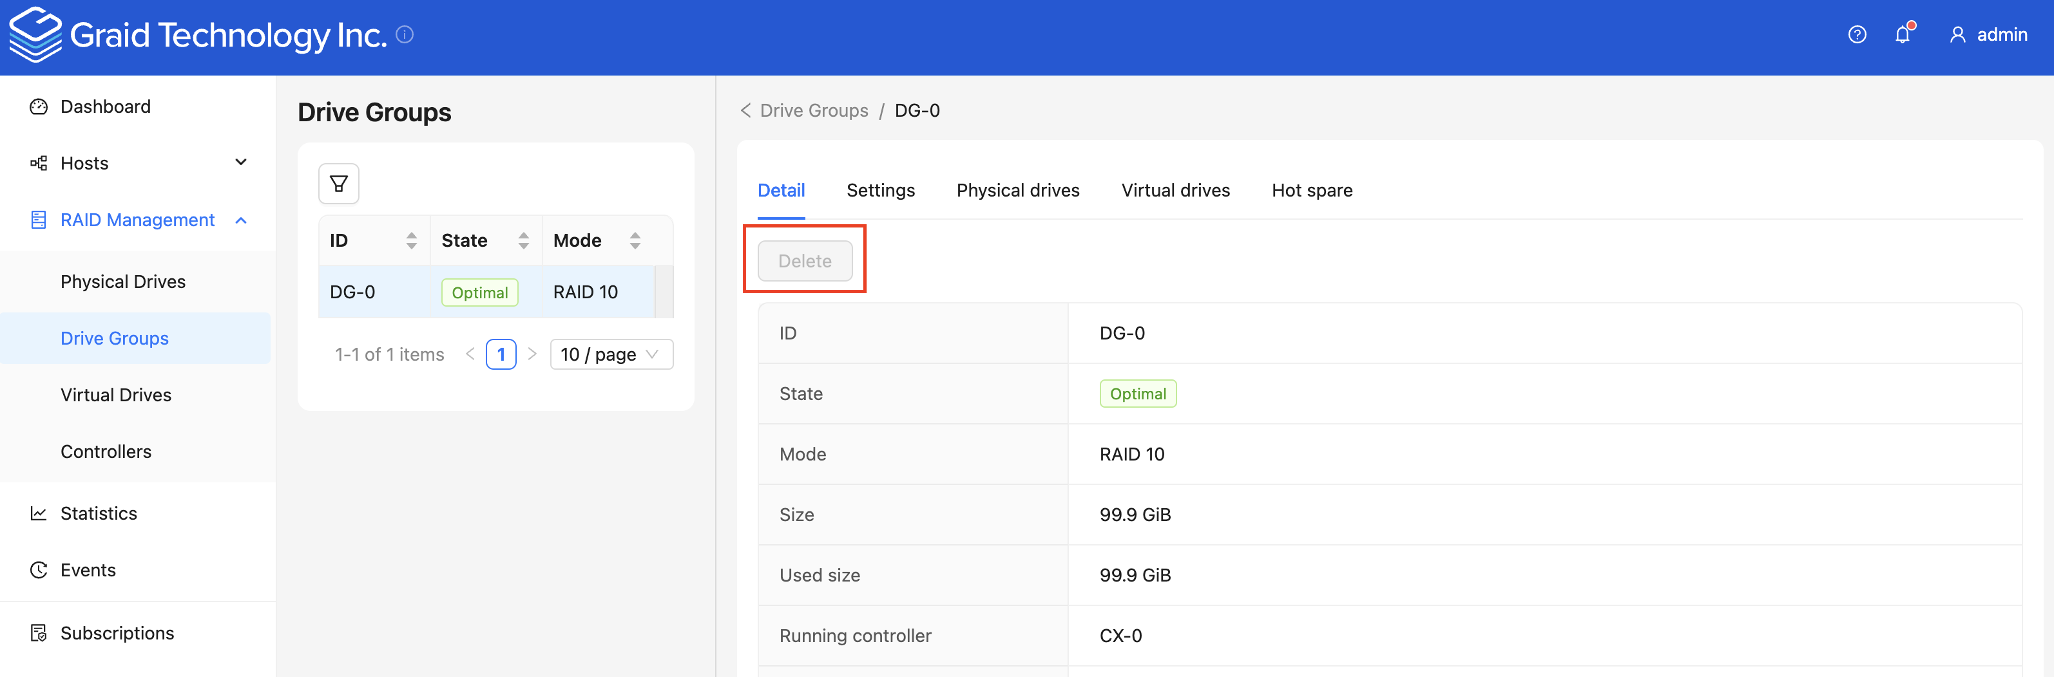 Info You cannot delete a drive group that contains a virtual drive. Degradation and RecoveryIf multiple drive groups require simultaneous recovery, the drive groups recover individually. If multiple physical drives in the same drive group require rebuilding, the physical drives are rebuilt simultaneously. Rescue ModeIf a damaged drive group is initialized or a recovering drive group encounters an abnormal system crash, the data integrity of the drive group is affected. In this event, the drive group is forced offline to prevent data from being written to the drive group. To read the data from the drive group, force the drive group to go online using Rescue mode. 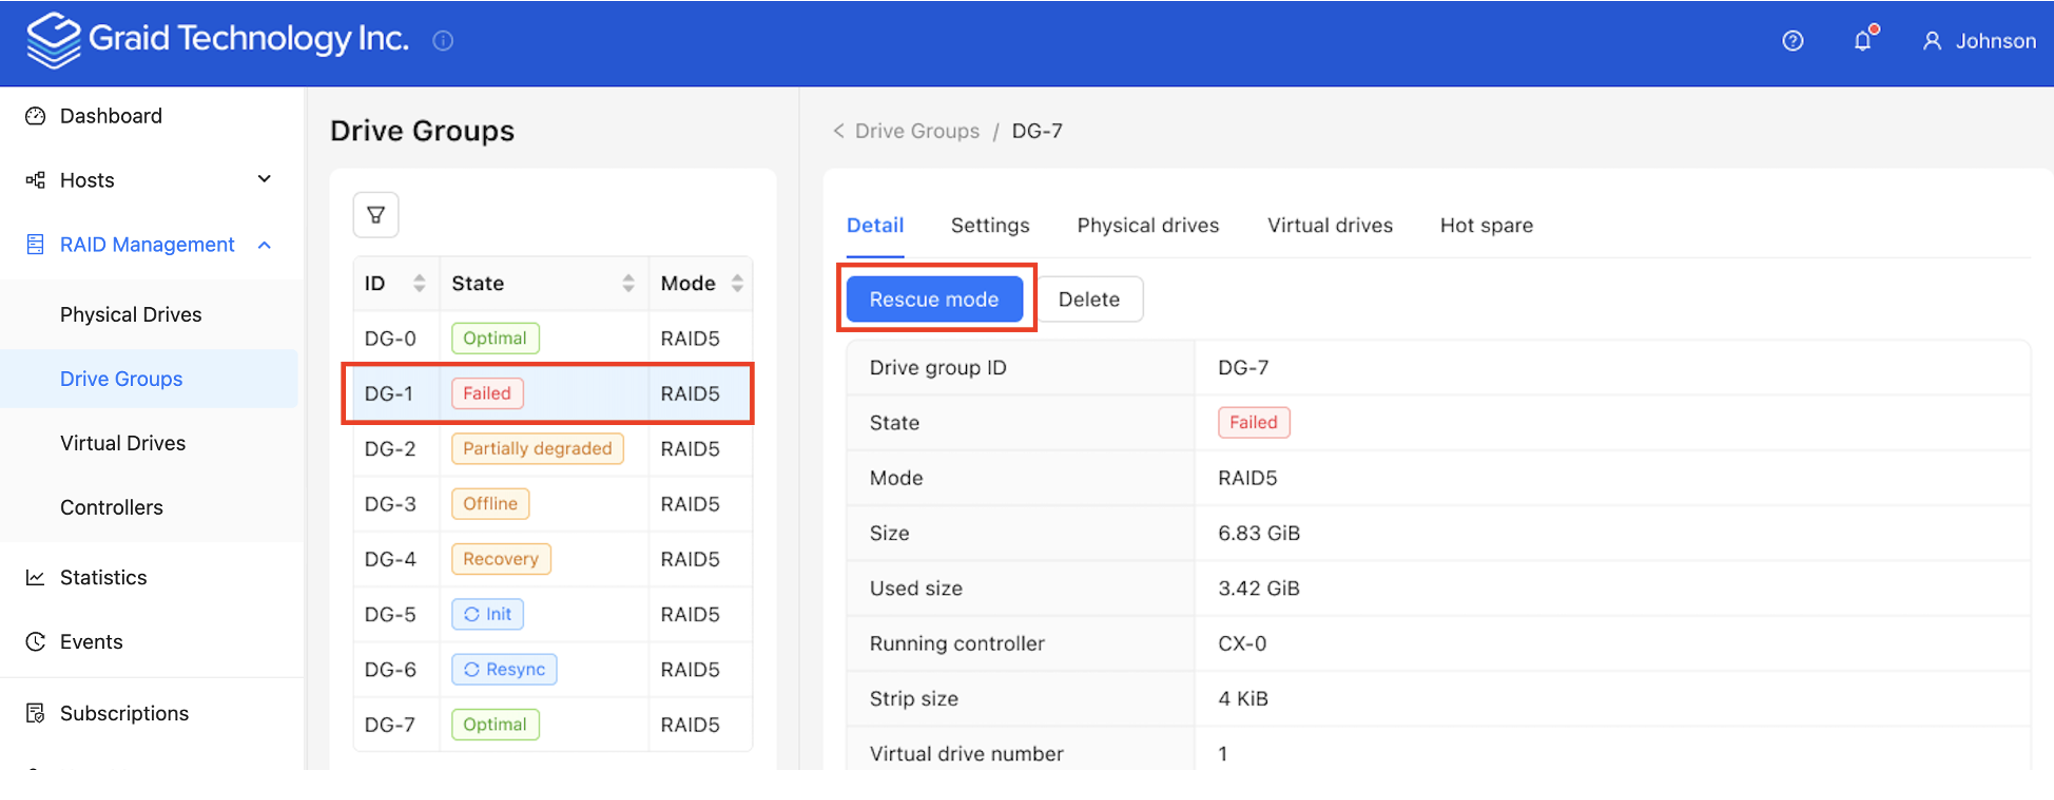 Info A drive group in Rescue mode is read-only. Rescue mode cannot be disabled. Managing Virtual DrivesCreating a Virtual DriveTo create virtual drives, please log in to the SupremeRAID™ SE Management Console, then navigate to the RAID management / Virtual Drives section on the sidebar menu. Click the “Create” button to select the drive group you want to use for the virtual drives. 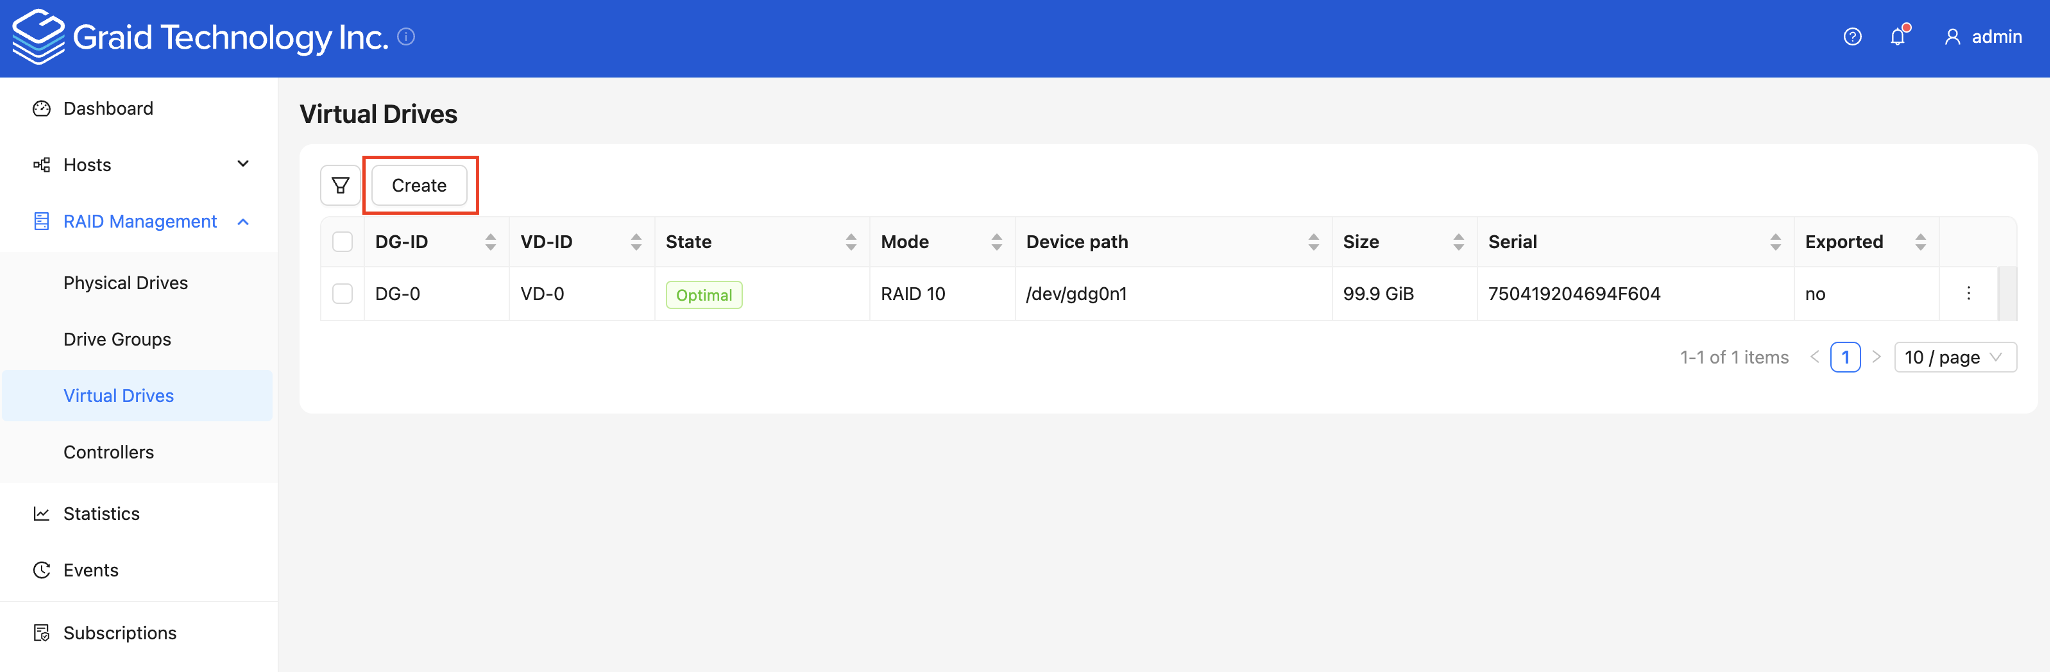 Virtual Drive State:
Stripe-cache state:
Deleting a Virtual DriveTo delete a virtual drive, please log in to the SupremeRAID™ SE Management Console, then navigate to the RAID management / Virtual Drives section on the sidebar menu. Please select the virtual drive you want to delete and click the “Delete” button. 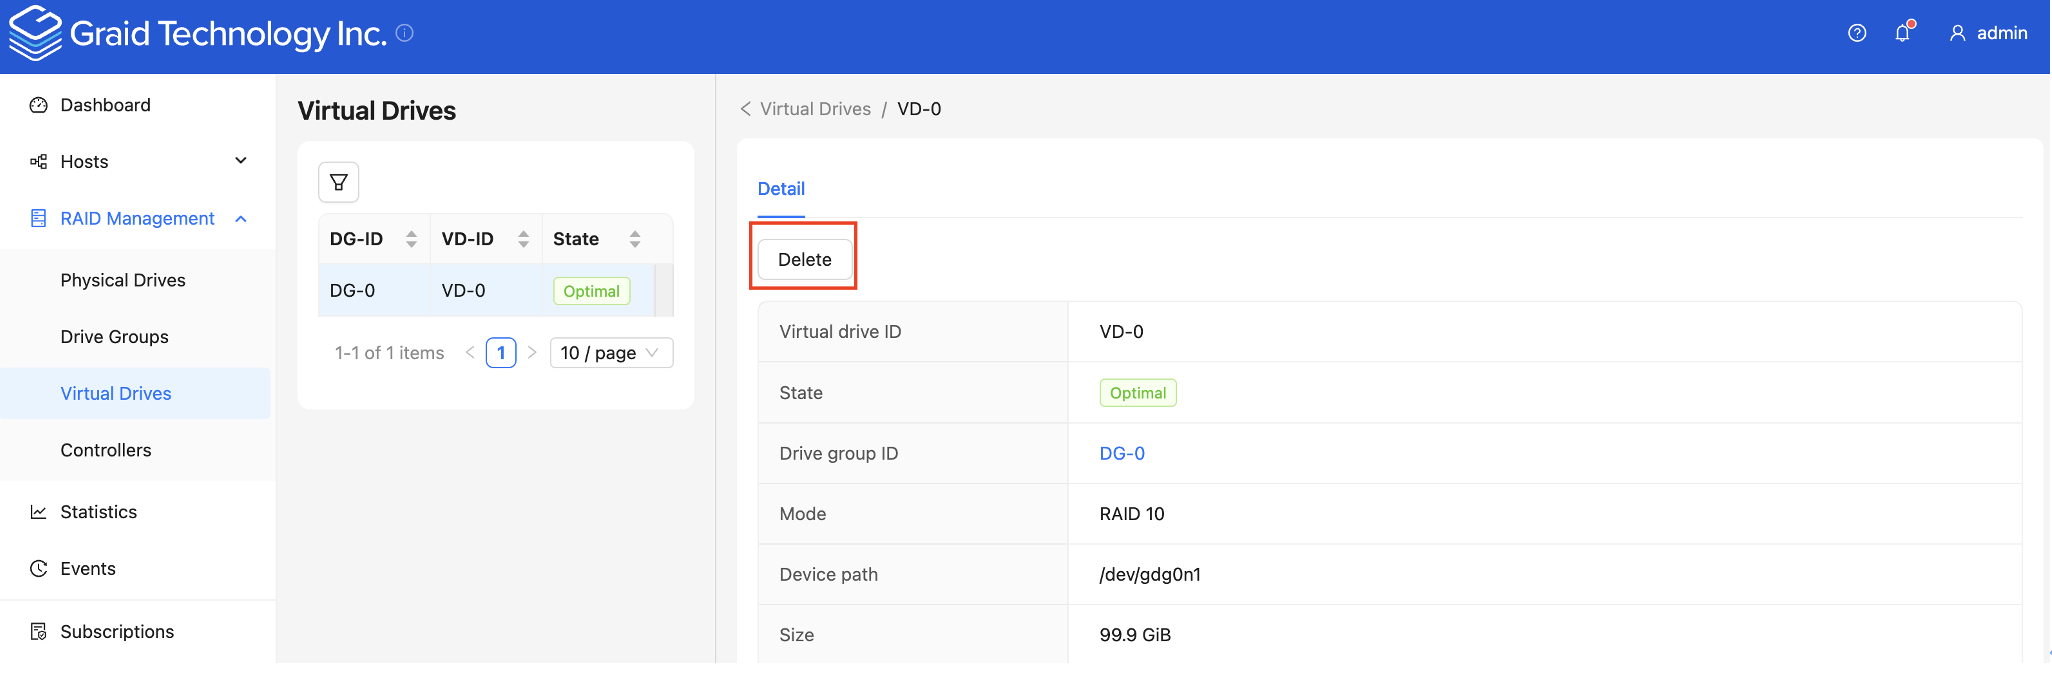 Feature OverviewConsistency ChecksThe consistency check operation verifies that the data is correct in Drive Groups that use RAID levels 1, 5, and 10. In a system with parity, for example, checking consistency calculates the data on one drive and compares the results to the contents of the parity drive. To start the consistency check, please log in to the SupremeRAID™ SE Management Console, then navigate to the RAID management/Drive Group section on the sidebar menu. Select the drive group you want to perform the Consistency Check on and click the “Consistency Check” button. 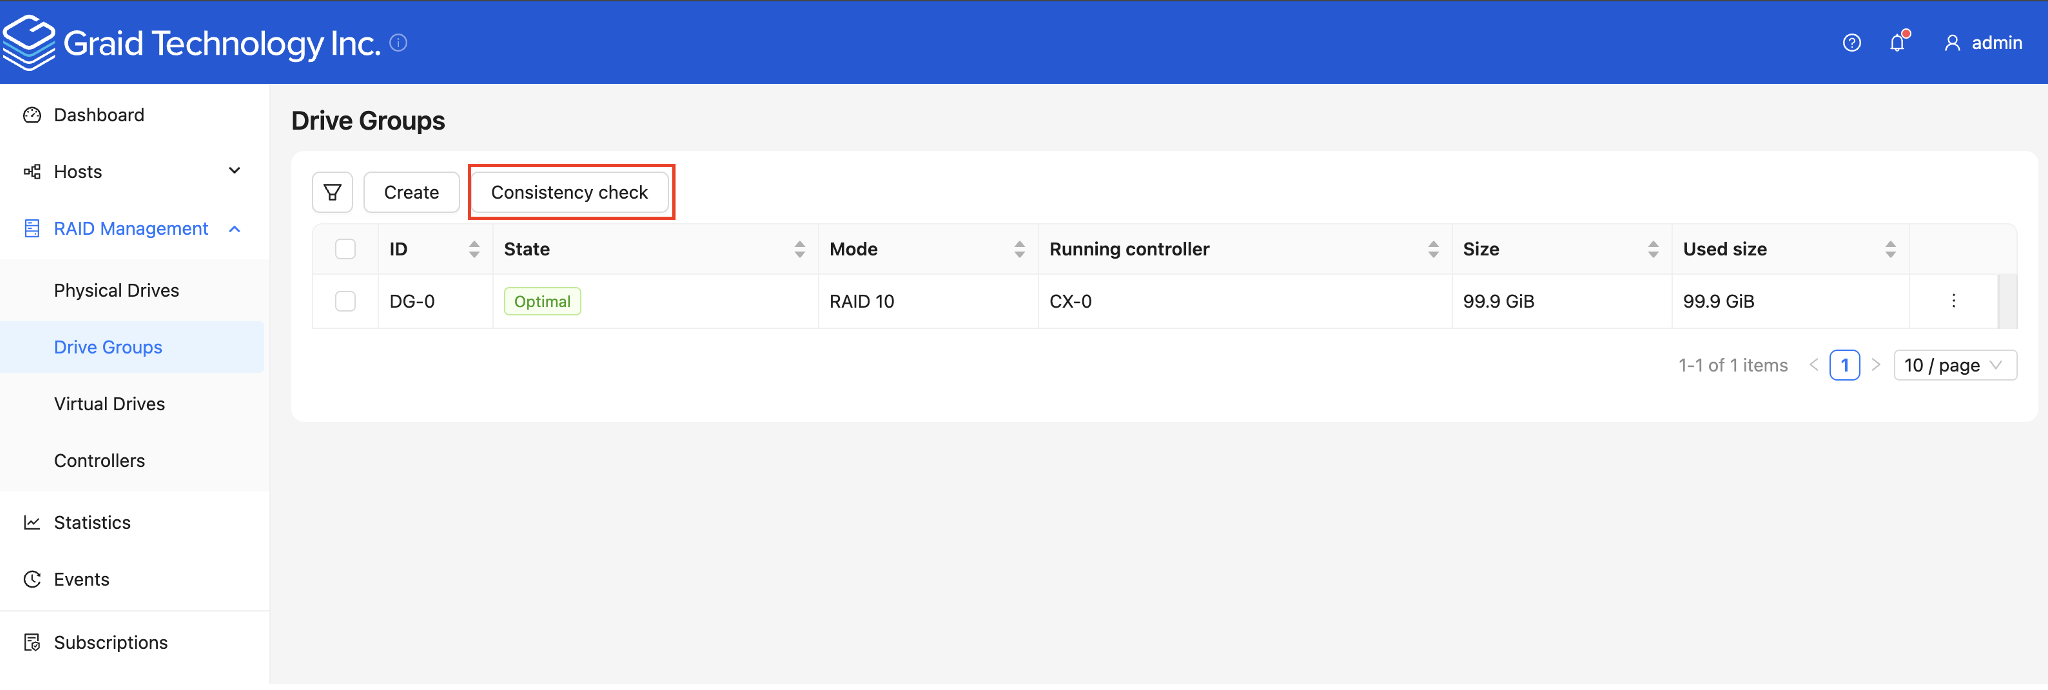 Info You cannot perform a consistency check on RAID 0 because it does not provide data redundancy. Additionally, a consistency check can only run when the DG is in OPTIMAL or PARTIALLY_DEGRADED state. Drive CopybackThe Drive Copyback feature allows users to manually initiate data migration from one drive to another without affecting the overall Drive Group state. This operation is user-controlled and can be performed for various reasons, such as replacing an aging drive, preparing for hardware upgrades, or managing storage configurations. To start the Copyback, please log in to the SupremeRAID™ SE Management Console, then navigate to the RAID management / Drive Group section on the sidebar menu. Select the drive group you want to perform the Copyback on and click the Physical Drives tab. Choose the physical drive first and click the “Actions” button to conduct Copyback. 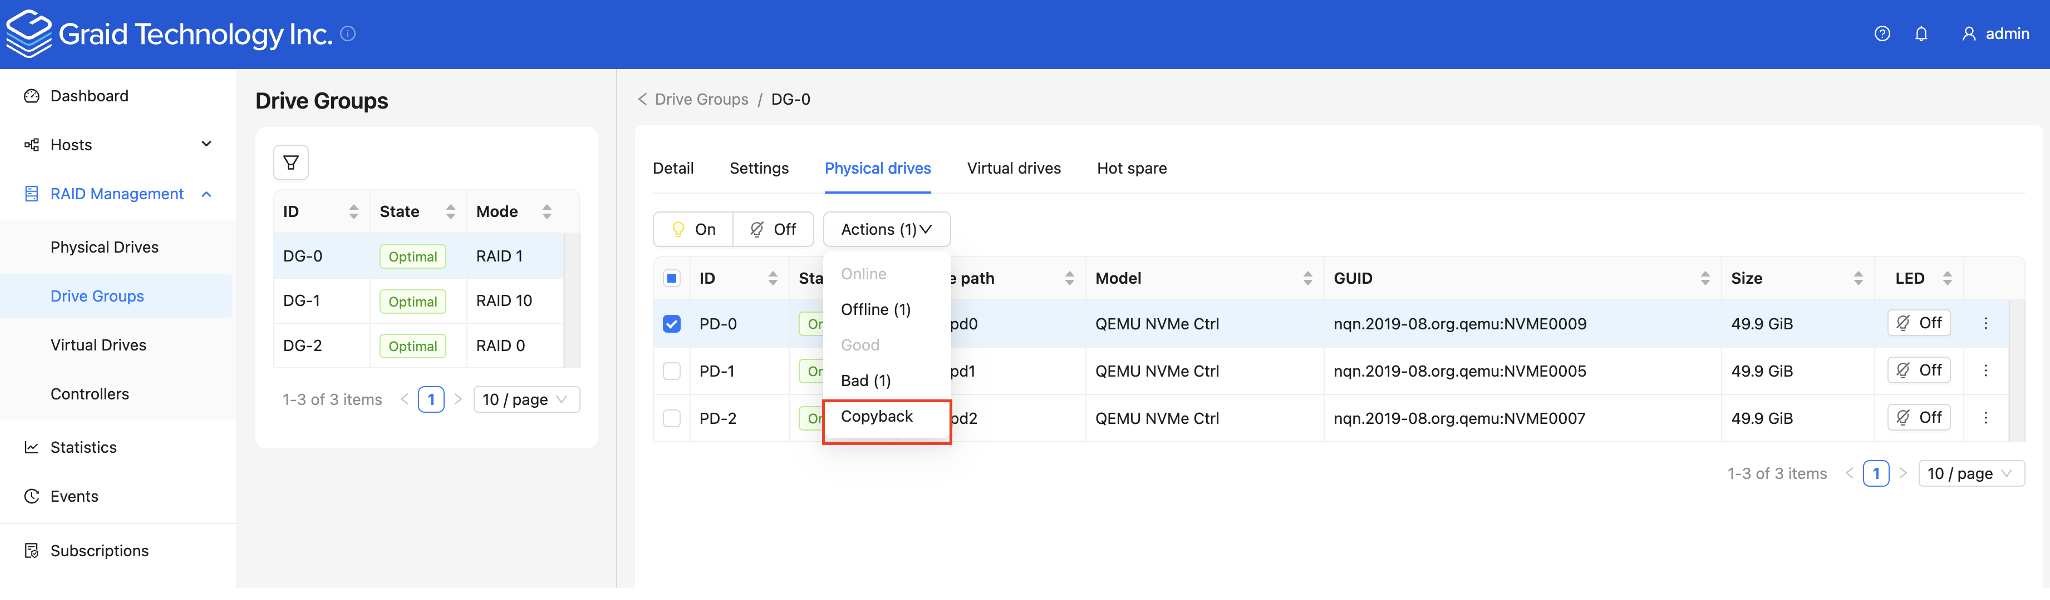 Double Failure Protection with Distributed JournalingSupremeRAID™ SE incorporates a distributed journaling mechanism specifically designed to safeguard data during abnormal shutdowns in double-failure scenarios. This system ensures data integrity by logging data in a dedicated journaling space before writing it to the storage area. Any incomplete I/O operations are replayed upon service restart to maintain data consistency. This journaling feature is automatically enabled in degraded mode to uphold data integrity. Additionally, users still have the flexibility to bypass journaling space reservation when creating a drive group. 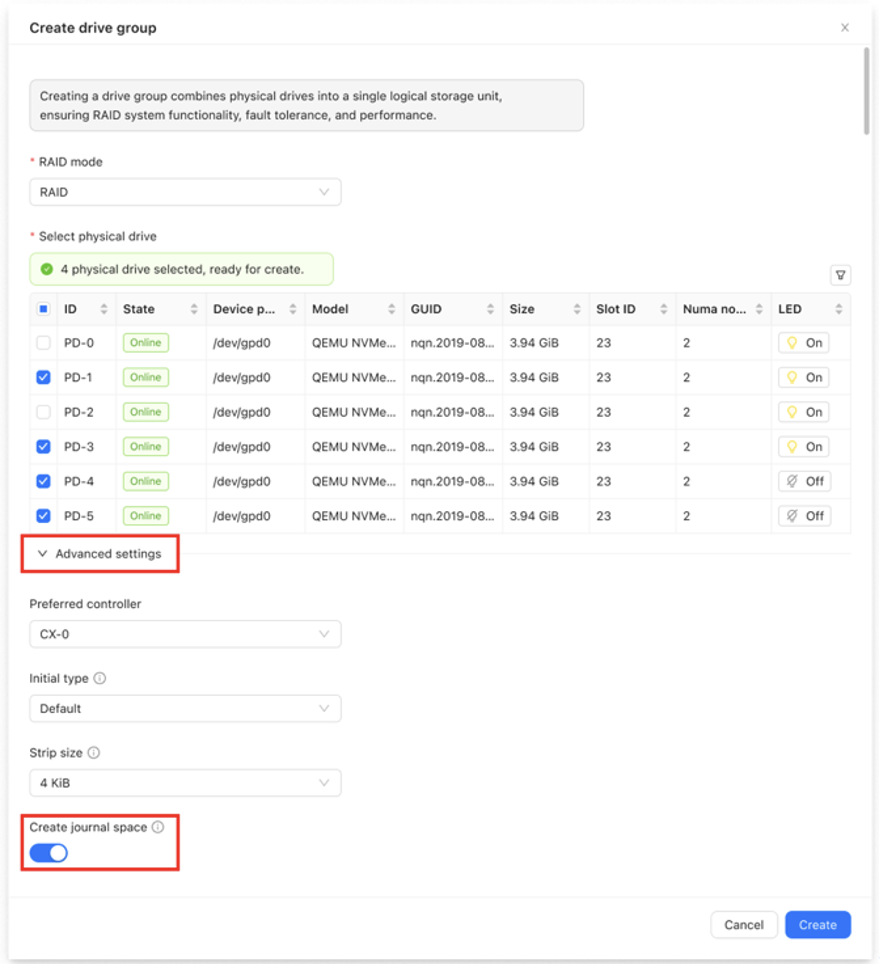 Info Only RAID5 can enable the journal function. If the user bypasses the creation of the journal space, it cannot be recreated. Dataset Management (DSM) DeallocateThe SupremeRAID™ SE driver introduces support for the NVMe DSM deallocate (trim) command on virtual drives, improving the efficiency of unused storage space management on NVMe SSDs. This feature allows filesystems or applications to issue deallocate commands on virtual drives, which are then translated by the driver and sent directly to the SSDs. By enabling the drives to manage deallocated blocks internally, this reduces write amplification, optimizes storage efficiency, and enhances overall performance. When a discard command is issued to a virtual drive, it triggers a corresponding deallocate command to the underlying NVMe SSDs. The system supports a minimum discard range of 4KB, aligned with the logical block addressing (LBA) size, and can handle a maximum deallocate range of approximately 400 GiB per command. For larger discard operations, and the filesystem and block layer handle the process seamlessly. This feature is automatically enabled on NVMe SSDs that support the deallocate command and guarantee that deallocated blocks return zeros. For SSDs without this guarantee, the system defaults to a "write zeros" command to ensure data consistency. This flexible approach ensures broad compatibility across different SSDs while optimizing their individual capabilities. To ensure the filesystem can take advantage of this capability and issue discard commands when files are deleted, it must be mounted with the discard option. AttachmentsEvents
FAQProduct & Service
Supported OS & Devices
Subscription Plans
Billing & Payments
Account Management
|